Everyday, we hear more and more about bots and I’ve had the opportunity to build several over the last few months. They do offer some pretty cool possibilities around process automation and productivity. Lately, I’ve been talking to people about creating an FAQ bot to free up people from answering common questions.
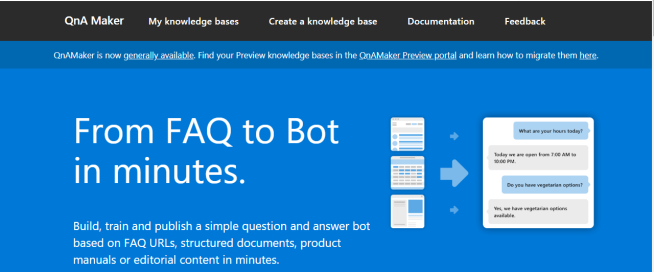
Creating an FAQ bot with QnA Maker
To get started, you’ll want to go to the QnA Maker site, where you will login with your Azure credentials, create, and setup your new bot.
Once you’re logged in, click the “Create a knowledge base” button at the top of the page.
The next page is a simple 5 step process that will guide you through creating your knowledge base.
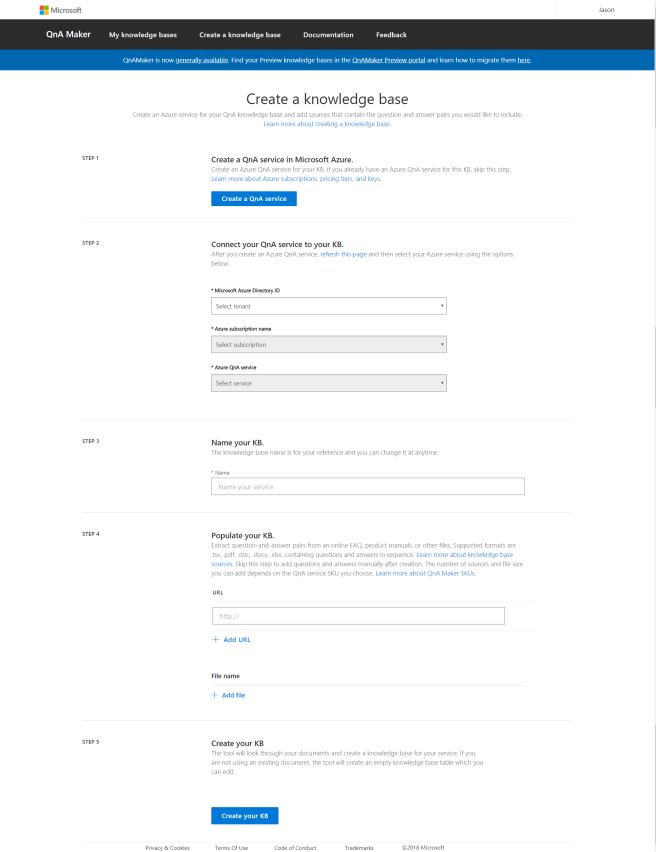
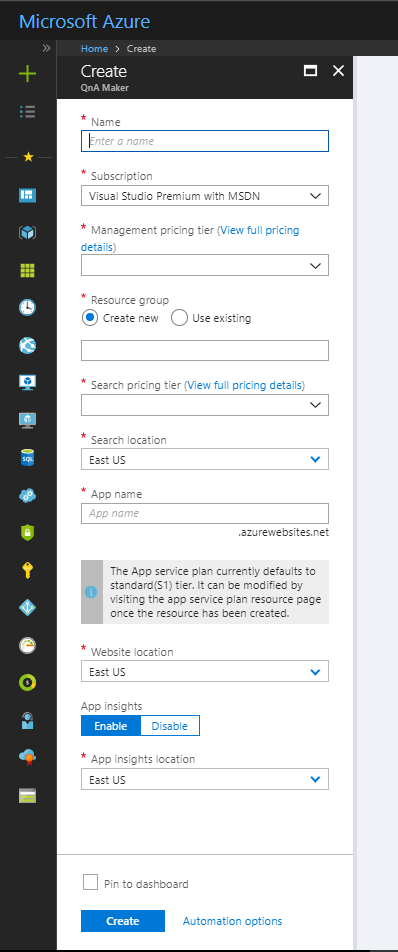
Step 1: Click the “Create a QnA service” button which will take you to Azure to create your App Service.

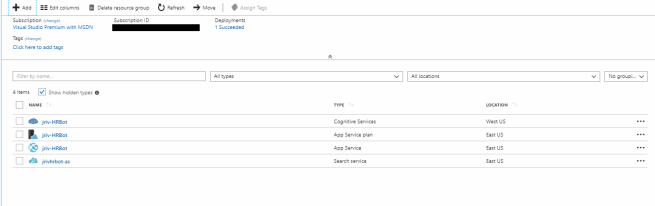
Once in Azure, you’ll enter some basic information about your bot like the name, which needs to be unique, the type of pricing that you’ll want to use, resource group, site location, and other. Note: Something odd happens after this step. When the resource group, app service plan, and web app are created, the Web App Bot is missing. In the next section, we’ll fix that.
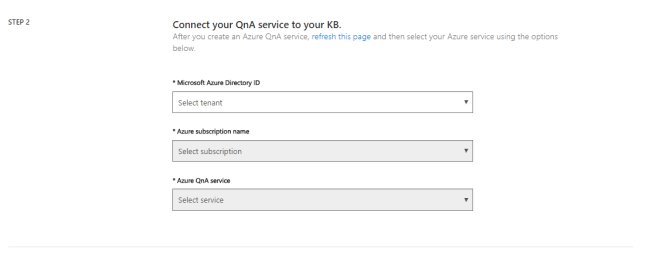
Step 2: Select the Azure ID that you want to use to create your bot, your subscription service, and the service name that you created in the previous step. If it doesn’t appear in the Azure QnA service dropdown, then you likely need to click the “refresh this page” link above the dropdown lists.
Step 3: Provide a name for your knowledge base.

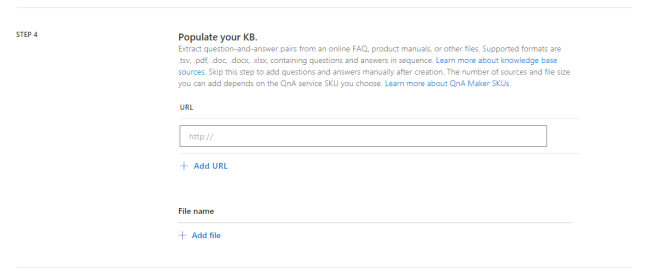
Step 4: This is where you point to the source of your knowledge base. If you have an FAQ page somewhere, you can provide a link to the page. In my case, I will be choosing to upload a word document that I created and stored on my local machine.
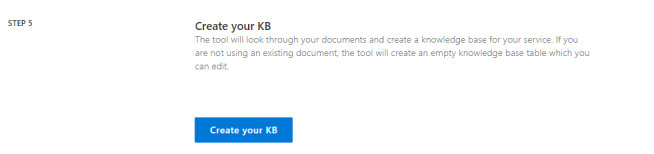
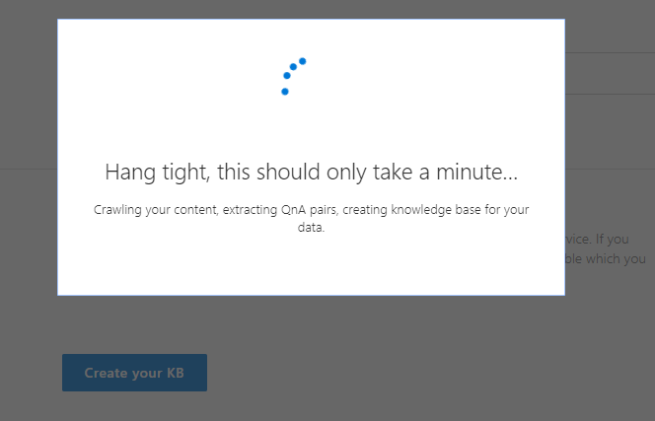
Step 5: Click the “Create your KB” button and wait for the knowledge base to be created from your source entered in step 4.
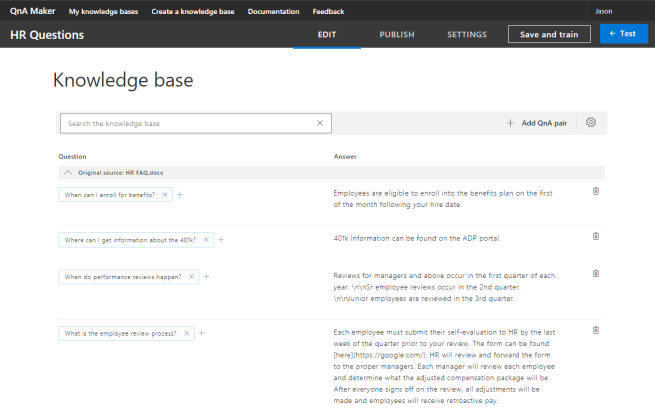
Once it’s done, you’ll see that your knowledge base has been created. If you see any issues or need to make changes, you can do that here.
Once everything looks fine, click the Publish link in the menu bar and the Publish button on the next page.
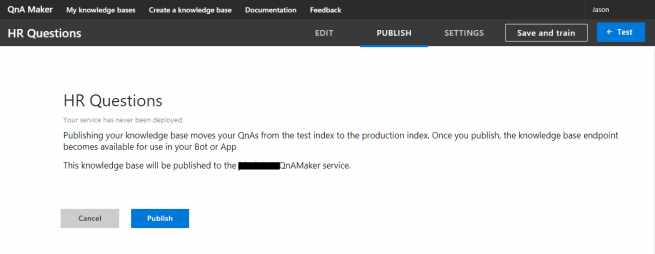
When everything is published, you’ll get the Success page which contains some information that you’ll want to keep handy. Specifically, the guid in the 1st line which represents your bot Id, the host url on the 2nd line, and the guid on the 3rd line which is used for authorization.

Creating the Web App Bot in Azure
In the previous section, I mention that the Web App Bot is missing. I don’t know if that’s intentional but either way, we need to introduce it.
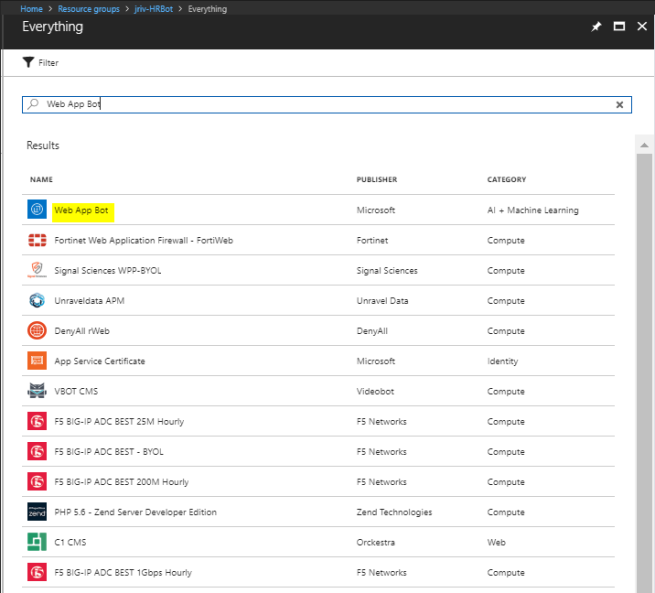
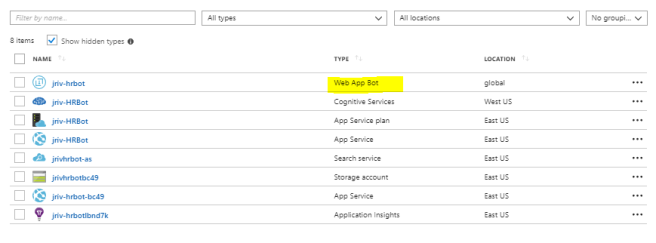
At the top of your resources group, click the Add button and search for Web App Bot.
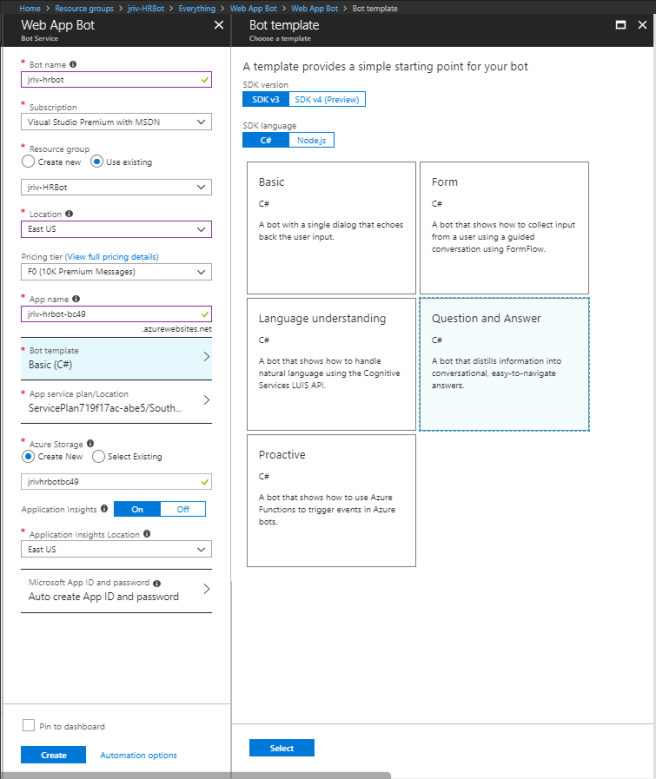
Fill out the form to create your bot. You can decide what plan you want to use, but choose the existing resource group that was created by the QnA Maker and under Bot template, choose Question and Answer.
It’ll take a few minutes to create the bot. Once it’s done, you’ll see a few more entries in your resource group, and then it’s time to configure some settings.
Click on the new Web App Bot that you just created, go to the App Settings, and update the 3 settings that are highlighted. QnAKnowledgebaseId, QnAAuthKey, and QnAEndpointHostName.
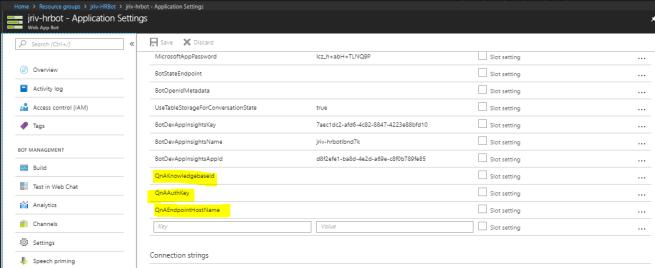
The 3 values can be found in the QnA Maker. We saw it in the success page but you can view it anytime from the QnA Maker site.
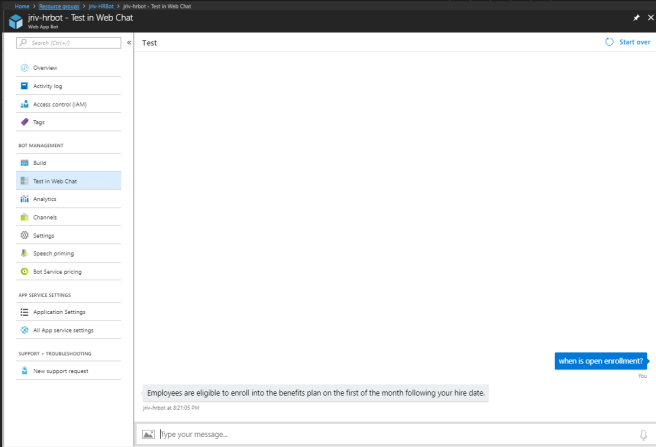
Once entered, you can then go to the Test in Web Chat page to make sure that bot is working as expected. If you visit this page before editing the 3 values previously mentioned, the bot will respond by telling you to enter those values.
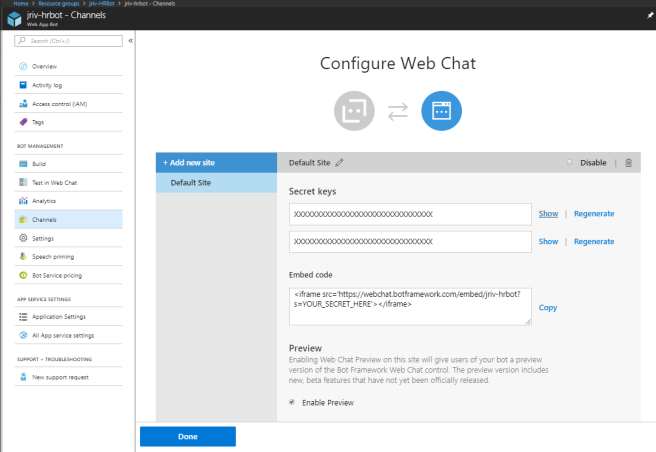
When working, you can go to Channels. This is where you can configure your bot to work in other apps like Skype and Teams but we are simply adding it to a SharePoint site so we can use the Web Chat that is already configured. Click on the Edit button next to Web Chat.
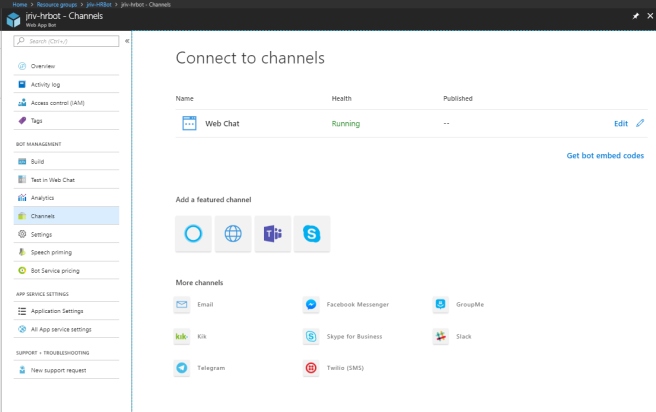
You’ll want to copy the text in the Embed Code section and replace the ‘Your_Secret_here’ text with one of the secret keys above it. Clicking the Show button will let you see the key that you’ll insert into the iframe markup.
Adding the QnA bot to SharePoint
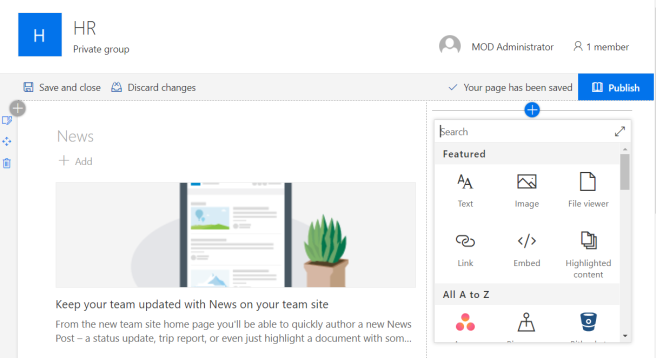
This is the easy part. Go to your SharePoint site, edit the page, and insert the Embed webpart.
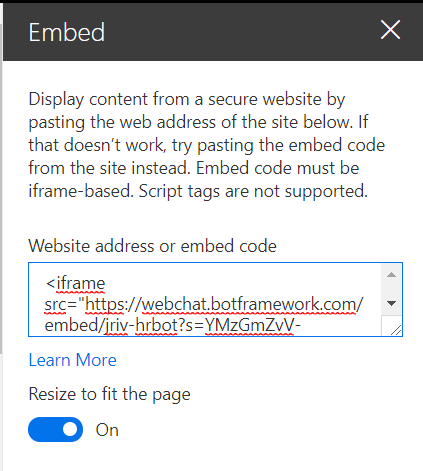
Edit the web part and insert the iframe markup that you copied from the Channels page in the final step of the previous section. The web part will require you to insert a height and width to the markup.
Close the editor part, publish your page, and voilà! You now have a simple bot that will use natural language and an FAQ list to answer those questions that you get ALL the time.


One thought on “Integrating FAQ Bots with SharePoint”
Comments are closed.